


7 Pro Tips for Safely Using Thinning Scissors at Home

You've watched countless YouTube tutorials, yet every time you pick up those thinning scissors, you’re terrified of ruining your hair. The fear of creating choppy, uneven layers that scream "DIY disaster" keeps you up at night.
What if professional stylists use simple, learnable techniques that transform amateur attempts into polished results? Using thinning scissors at home doesn't have to be a gamble with your appearance. Armed with right tools and information, you can confidently create natural-looking texture without the hefty salon price tag.
The Secret Professional Stylists Don't Want You to Know About Your Thinning Scissors
Professional stylists have mastered techniques that seem complex, but the truth is simple. The biggest secret is in understanding your tools and using methodical approaches.
What Makes Thinning Scissors Different from Regular Scissors
Thinning scissors feature one straight blade and one serrated blade with gaps. These gaps determine how much hair gets cut, typically removing 10-40% per section. More teeth create subtle texture; fewer teeth produce dramatic thinning effects.
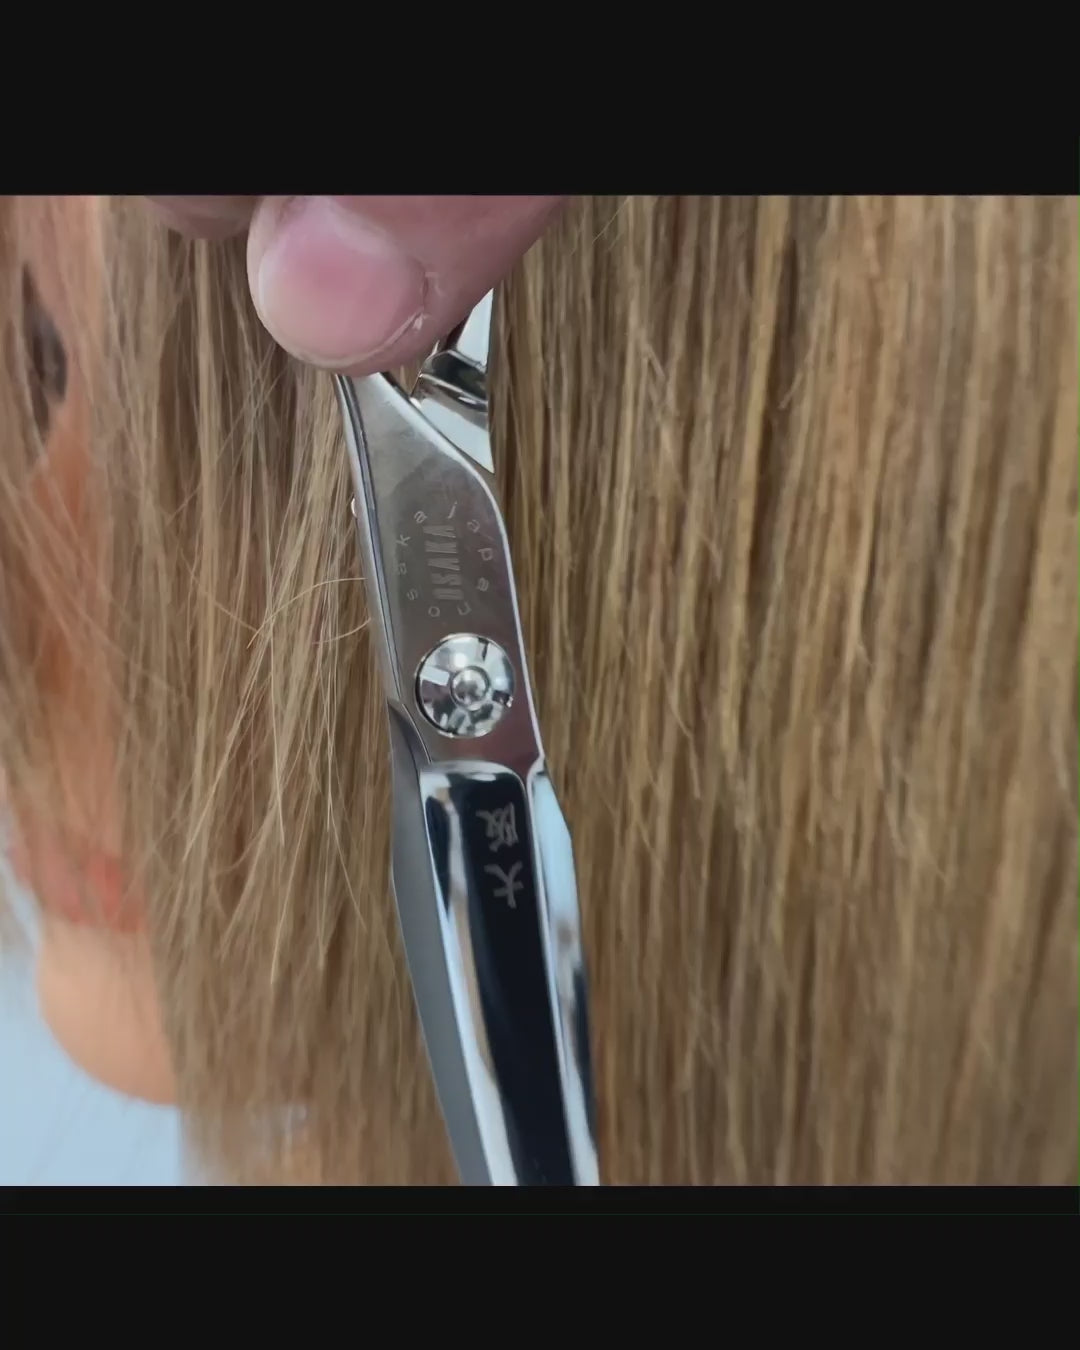
Identifying Quality vs. Budget Options
Quality scissors maintain consistent tension and feature sharp, aligned teeth. Budget options often have uneven spacing or dull edges that crush hair rather than cut cleanly. Poor-quality tools lead to uneven, damaged results requiring professional correction.
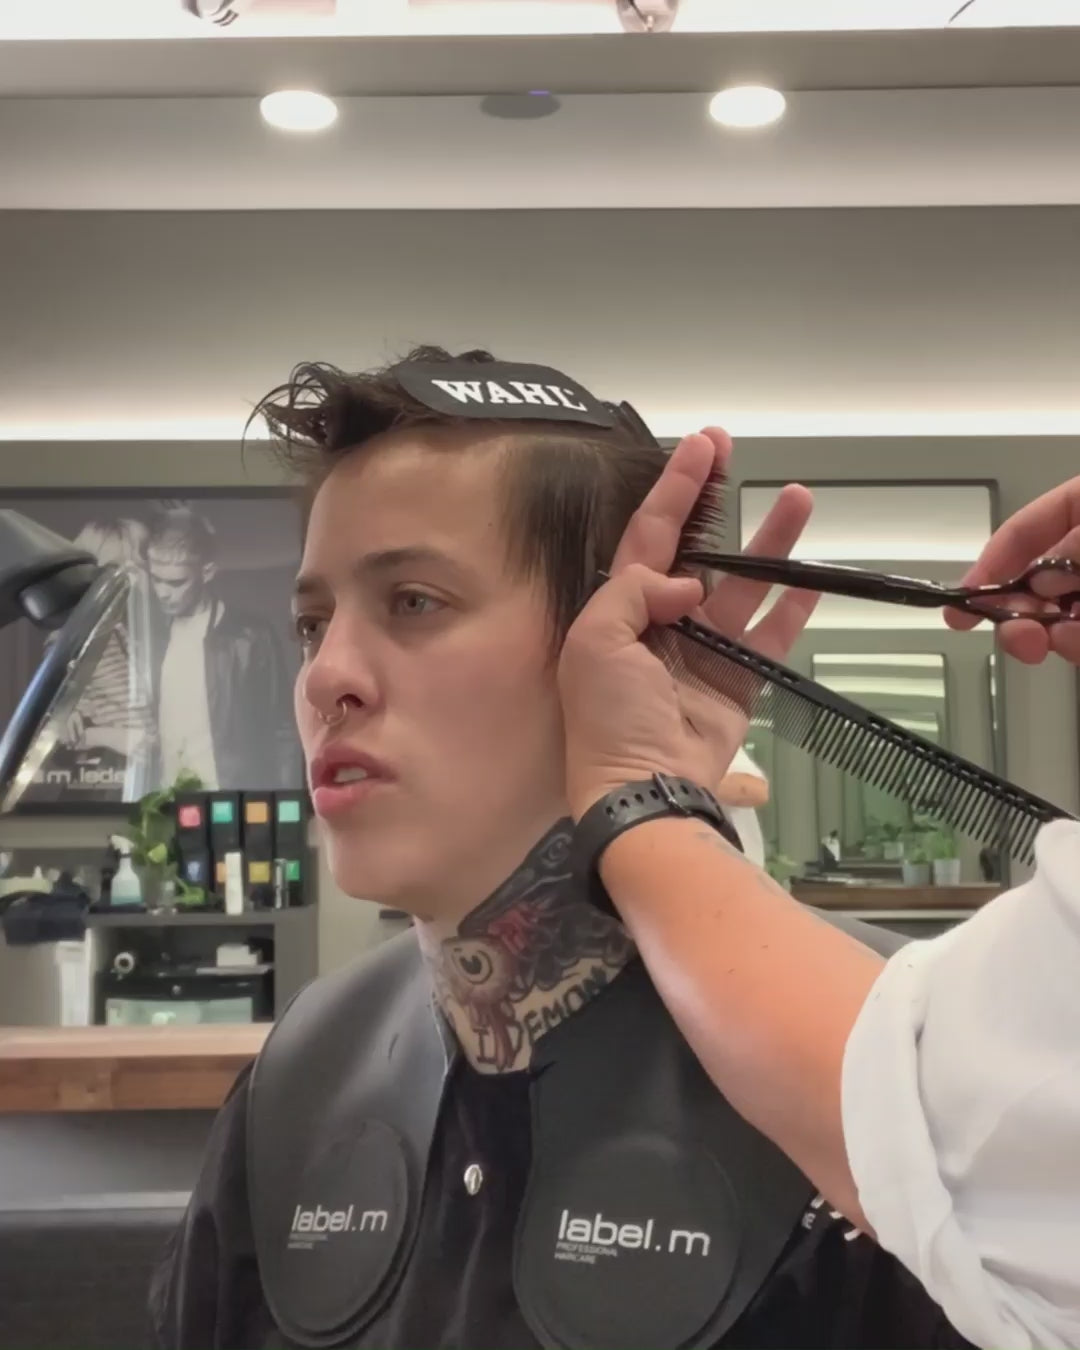
Pro Tip #1: The "Death Grip" Mistake That Ruins Most Home Haircuts
Most people squeeze thinning scissors like they're crushing a walnut, creating jerky cuts that produce choppy results.
The Professional Hold Technique
Hold scissors like how you would handle a delicate bird: firm enough for control, gentle enough not to cause harm. Your thumb rests in the lower handle, ring finger supports the upper handle. Keep your wrist straight and relaxed for smooth movements.
Avoiding Common Grip Mistakes
Never grip both handles with your fist or use your index finger to steady scissors. Plus, avoid twisting your wrist into awkward angles or holding too close to the pivot point. Doing this saves you a lot of pain while still getting quality results.
Pro Tip #2: Why Wet Hair Is Your Worst Enemy (And Most People Get This Wrong)
Wet hair seems easier to cut because it lies flat, but it can shrink 30% when dry, making conservative cuts dramatically shorter.
Why Wet Hair Can Lead to Disasters
Wet hair masks natural texture, movement, and volume patterns. When using thinning scissors at home on wet hair, you can't see how the hair naturally falls. Wet hair also stretches when pulled, making it impossible to gauge the true cut impact.
Preparing Your Hair for the Best Results
Start with clean, completely dry hair in its natural state. Work in good lighting and comb gently to remove tangles without creating static.
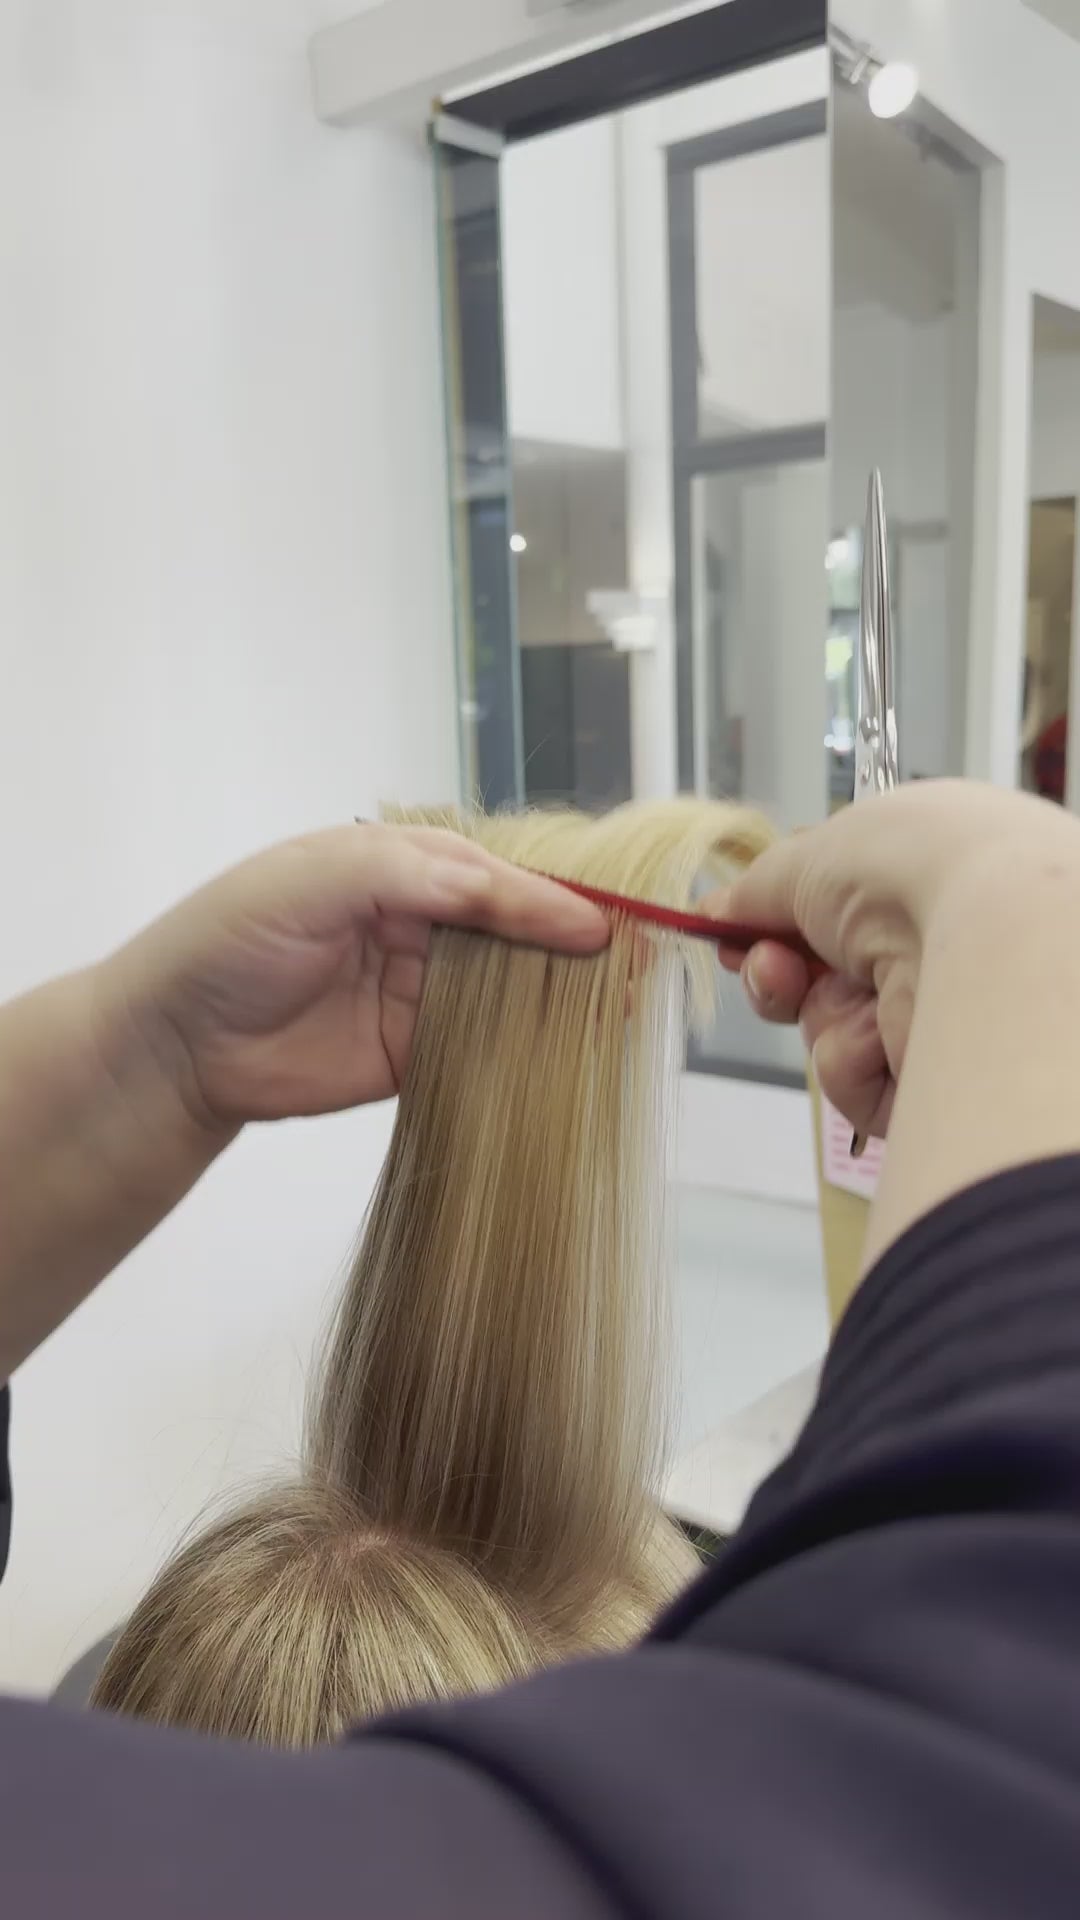
Pro Tip #3: The Bite-Sized Approach That Prevents Hair Disasters
Rushing leads to over-cutting and uneven results. Take small, deliberate sections and make conservative cuts that build gradually.
The Golden Rule of Gradual Thinning
Never remove more than 20% of any section's bulk in one session. Start with a few snips, then assess before continuing. You can always remove more hair, but can't replace what's cut.
Sectioning Techniques That Prevent Over-Cutting
Divide hair into manageable sections using clips, working from bottom to top. Take sections no larger than two inches wide and one inch thick for consistent results.
Pro Tip #4: The Magic Number That Separates Amateurs from Pros
Professional stylists follow strict cut frequency guidelines. This mathematical approach prevents over-cutting that plagues DIY attempts.
Maximum Cuts Per Section
Limit yourself to 3-5 cuts maximum per two-inch section. Space each cut at least half an inch apart along the hair shaft. Count cuts aloud to avoid losing track.
When to Stop and Assess
After every 3-4 sections, step back and shake hair naturally. Look for choppy areas or uneven thickness. Take photos from multiple angles to spot missed issues.
Pro Tip #5: The Forbidden Zone Where One Wrong Cut Ruins Everything
Every head has danger zones where thinning creates irreversible damage. Understanding these areas protects from cuts requiring months to grow out.
Understanding Hair Growth Patterns
Crown area, face-framing layers, and hairline require extreme caution. These visible areas can create unflattering volume loss or harsh features when over-thinned.
The Safe Zone for Home Thinning
Focus on mid-lengths and areas below your ears. These sections handle aggressive thinning without affecting the overall silhouette. Lastly, avoid cutting within two inches of the scalp or hair ends.
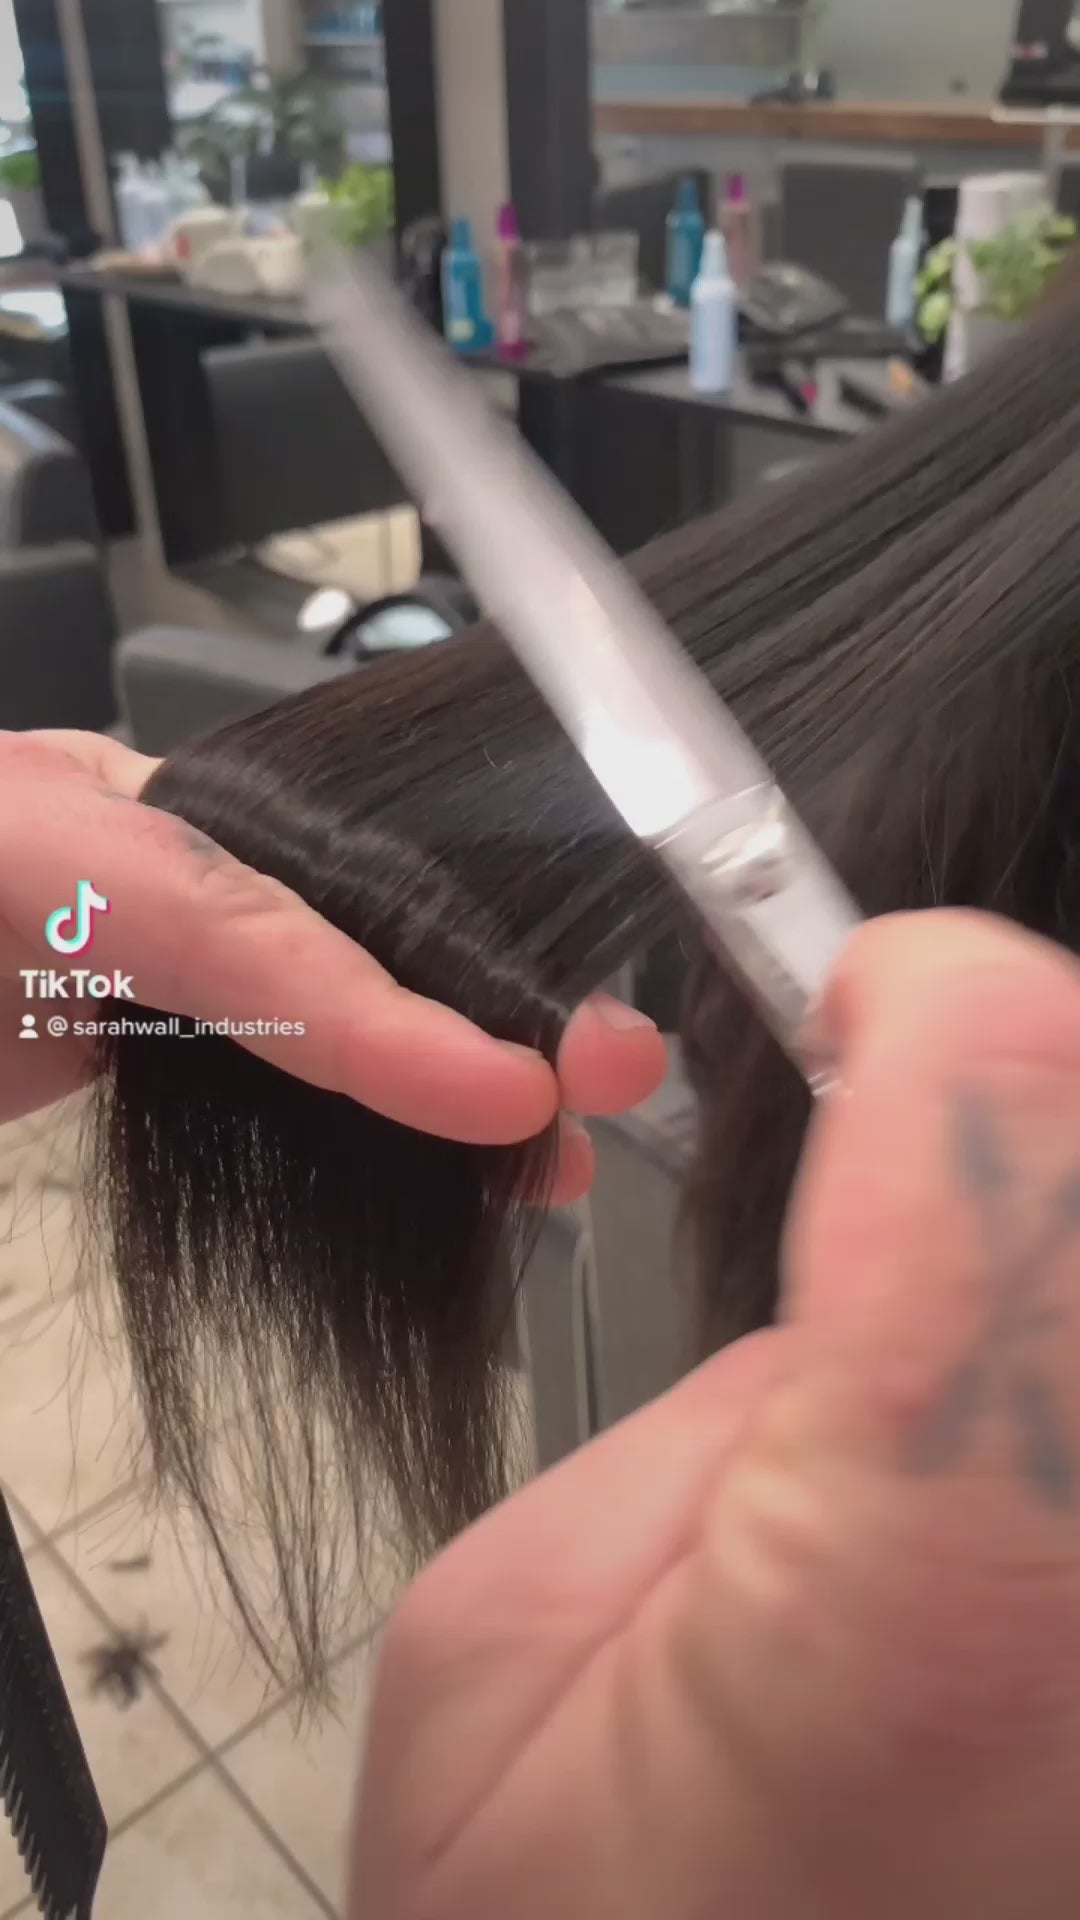
Pro Tip #6: The Little-Known Angle That Makes Hair Look Naturally Textured
The cutting angle determines whether the results look natural or obviously DIY. Most people cut straight across, creating that blunt and unnatural texture.
The 45-Degree Rule
Hold scissors at a 45-degree angle to the hair shaft, pointing toward the scalp. This way, it creates soft, graduated cuts that blend seamlessly. Never cut straight across or perpendicular to hair.
Creating Natural-Looking Texture
Vary the cutting angle between 30-60 degrees for organic variation. Point-cut into hair rather than closing scissors completely to soften edges and prevent harsh lines.
Pro Tip #7: The Warning Signs That Scream "Stop Before It's Too Late"
Recognising when you've gone too far saves from disasters requiring professional correction. These red flags appear before permanent damage occurs.
Red Flags That Signal You've Gone Too Far
Stop if you see obvious gaps in coverage, sections appearing significantly thinner, or find yourself repeatedly cutting the same areas. Frustration or rushing are also early warning signs that you need to stop and reconsider cutting at a different time.
Damage Control Strategies
When problems emerge, resist immediate "fixes." Style your hair normally for 24-48 hours to see how it settles. Issues often become less noticeable once hair returns to natural movement patterns.
The 5-Minute Routine That Keeps Your Scissors Sharp for Years
Cleaning and Storage Best Practices
After each use, wipe scissors clean and store in protective cases. Never leave loose blades in drawers where they can easily be damaged over time. Oil pivot points monthly with some clipper oil.
When Professional Sharpening is Worth the Investment
Quality scissors need professional sharpening every 12-18 months. Sharp blades make cleaner cuts causing less hair damage. OSAKA Scissors currently offers significant savings on premium Japanese steel scissors through their clearance collection—perfect for upgrading your tools affordably.
Starting Small and Building Skills Over Time
Using thinning scissors at home successfully requires patience and practice. Start with small, conservative cuts on less visible sections to build confidence. Then, begin with one or two sections during the first attempts. Keep in mind to master basic techniques before attempting any complex patterns.
Turn Skills To Confidence Using The ONLY Tool To Get The Job Done Right
The difference between DIY disasters and salon-quality results often comes down to tool quality. OSAKA Scissors represents the gold standard in precision cutting instruments, combining legendary Japanese steel craftsmanship with ergonomic design.
For over 30 years, professional stylists worldwide have trusted OSAKA's excellence. From the ultra-sharp IKA and elegant Mikazuki models to the affordable TAN series, OSAKA offers scissors for every skill level.
Their partnership with PASSION Scissors brings decades of UK expertise to Australia, ensuring exceptional tools plus knowledge to use them effectively. Each pair includes lifetime warranty protection and access to professional sharpening services.
Don't let subpar tools sabotage your hair care journey. Experience the precision and confidence that comes with meticulously crafted instruments designed to elevate your artistry. Visit OSAKA Scissors and explore their comprehensive range to transform that frustrating guesswork into professional-quality results.